I looked at a lot of different classes, mostly cooking classes. I looked at local classes at the community center, classes at Sur La Table since I have a gift certificate from everyone at CoolerEmail (my work) as a housewarming present, but then I looked at Mount Hood Community College and came across something I could not pass up.
On day 10 I made home made cheese with the help of youtube and it turned out pretty good, the entire process was fun and one I knew I wanted to do again. The class offered at MHCC was yogurt and yogurt cheese making! Why not take a new class on something I already know I like and hone in on the beginner skills I, with the help of David Hughes and his spirit bead necklace, currently have.
The only downside to the class that I didn't know about until after I registered was that it was not at MCHH, which is only 15 minutes from my house, it was at David Douglas HS which is more like 30 minutes away from me. But it was worth it. My back was feeling better and I was pretty excited. I arrived early and Claudia of Urban Cheesecraft was there to great me. As more students arrived we chatted and got to know one another. In told there were five of us attending the class in hopes of learning the secret art of yogurt and cheese making. With Claudia as our cheese guru I was ready!
Claudia put out an array of cheeses she had made earlier, we sat around a table tasting and discussing them and getting to know one another. The class took part in a few stages, because the entire process takes more than 2 days from start to finish (from milk to cheese) she had brought the beginning of each stage for us to work with.
Stage one - making milk into yogurt.
We were working within the home economics classroom at the high school, a nice little setup with 4 or 5 little kitchens complete with ranges and sinks. The first stage consisted of bringing the milk slowly to 180 degrees, being sure to stir occasionally to ensure it does not stick. Once 180 degrees is reached let the milk cool to 116 degrees, to speed the process place the pan of milk in a sink filled with cold water. Next add the stater and mix well. The starter is simply already made yogurt. It can be store bought yogurt or yogurt from an earlier batch you made. For every court of milk add 2 tablespoons - less will make your yogurt not setup as thick while more will not really make a difference. To make your yogurt thicker you can also add 1/4 cup of non-fat powdered milk or 1 tablespoon pectin or gelatin.
This is where we stopped stage one, because the final step in making yogurt is to keep the milk mixture at 116 degrees for at least 6 hours. Claudia suggested putting the mix in a cooler along with 2 jars filled with boiling water, be sure to have the lids on but not screwed too tight or they run the risk of explosion. We packed up our milk mix and when I got home I put it in a cooler with jars of boiled water and in the morning I had yogurt! MAGIC!!!
The second stage we did was turning yogurt into cheese.
Claudia brought yogurt she had already made so we could magically move forward from the milk stage. There are two types of cheese that can be made from the yogurt; cream cheese or labneh which is basically a tangy salty version of the the cream cheese that can be eaten in two forms, but we'll get to that in a minute. To make cheese from the yogurt you have to drain it, super simple - put cheesecloth in a bowl or strainer and scoop in the yogurt. Bing up the corners of the cheesecloth until all the sides are bunched together and tie. Hang the "bag" to drain out all the whey at room temperature for 8-24 hours or until it is the texture you want.
Side note - the why from yogurt can be used for all sorts of things, its basically the same as buttermilk so use it for your pancakes or biscuits. Its also good for soup stocks.
The third stage is adding any additional ingredients (optional) or making your cream cheese into labneh.
Here is where the difference between cream cheese and labneh comes in - if you want labneh, the super tangy a bit salty type cheese before tying up your cheesecloth add a heaping teaspoon of flake salt per cup of yogurt, stir it up to mix and then proceed with hanging. Drain for a minimum of 18 hours at 72 degrees. Once drained you can serve up this savory cheese as a spread or you can take spoonfuls and roll them out on a paper towel to get a nice round ball, then leave them out the counter for another 24 hours, being sure to rotate them so that a rind developed around the outside. Store these little cheese balls of goodness in a jar with your favorite olive oil, add some herbs for added yumminess and store in your fridge for up to a few months!!! Traditionally these balls are stored at room temp but because we are all beginners here lets store them in the fridge just to be on the safe side. If left as a spread add your favorite herbs, a nice blend of turkish herbs is really the best but anything savory would meld well with the tang of the cheese.
If you don't like salty or tangy simply keep it as is after draining for a nice rich cream cheese or add some sweetness to it with honey or maple syrup, this was my favorite and I could have eaten an entire vat of it alone but put it on top of some graham crackers and topped with fresh berries and I might be willing to stab someone for it!! Sweetened would also make an incredible cheese cake or combine it with some fat free vanilla pudding mix and cinnamon and you have yourself a world class fruit dip!!!
Milk tips brought to you by Claudia of Urban Cheesecraft -
For tested milk brands, visit our Milk page on www.urbancheesecraft.com - find tips, recipies and more! - Find Summer Hill brand pasteurized milk at Trader Joe's & Meyerberg ultra pasteurized milk at Fred Meyer, New Season's, and Whole Foods Markets. - A very local source of fresh goats milk is in NE Cully, call Ed & Nancy at 503-287-7773. - If you must, you can actually use ultra-pasteurized goat milk or even lactose-free milk for these cheeses. This is because we're working with direct acidification. - For local fresh cow milk contact Elice Turnbull at E-milk@comcast.net. This is a weekly pick-up club.
I really enjoyed this class and a special thanks to Claudia and Urban Cheesecraft I look forward to taking more cheese making classes in the future.
The class gets started

Heating up the milk to make my yogurt

Spooning the yogurt into cheesecloth to be drained and make cheese

Claudia of Urban Cheesecraft demonstrating a good way to hang the "bag".

Rolling out the labneh balls - the cups contain the done cream cheese.

My big fat delicious cheese balls!

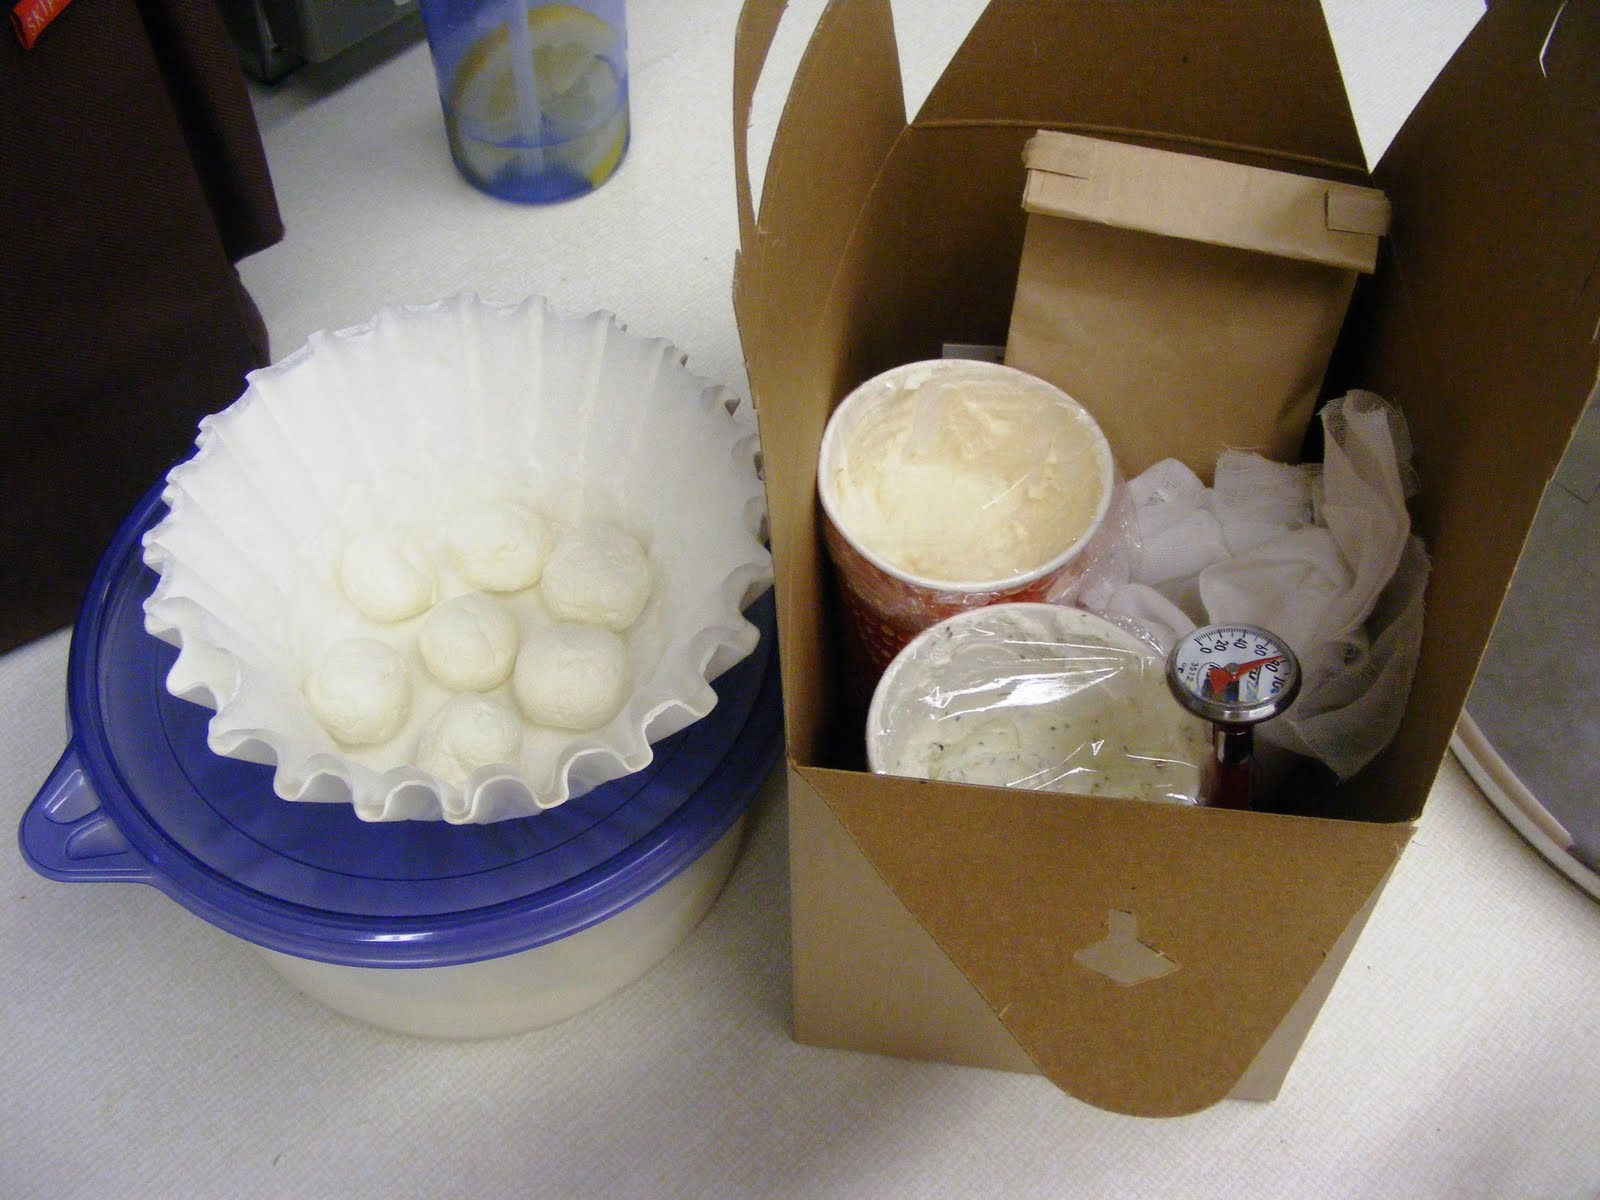
The take home goody bag!
When I got home I put my yogurt into a pot and placed it with jars of boiling water in a cooler

The next day, my finished yogurt. I also finished draining the yogurt and put my labneh in herb infused olive oil but I forgot to take pictures.

CLICK HERE TO GO TO DAY 20


